Chocolate Making
Roasting
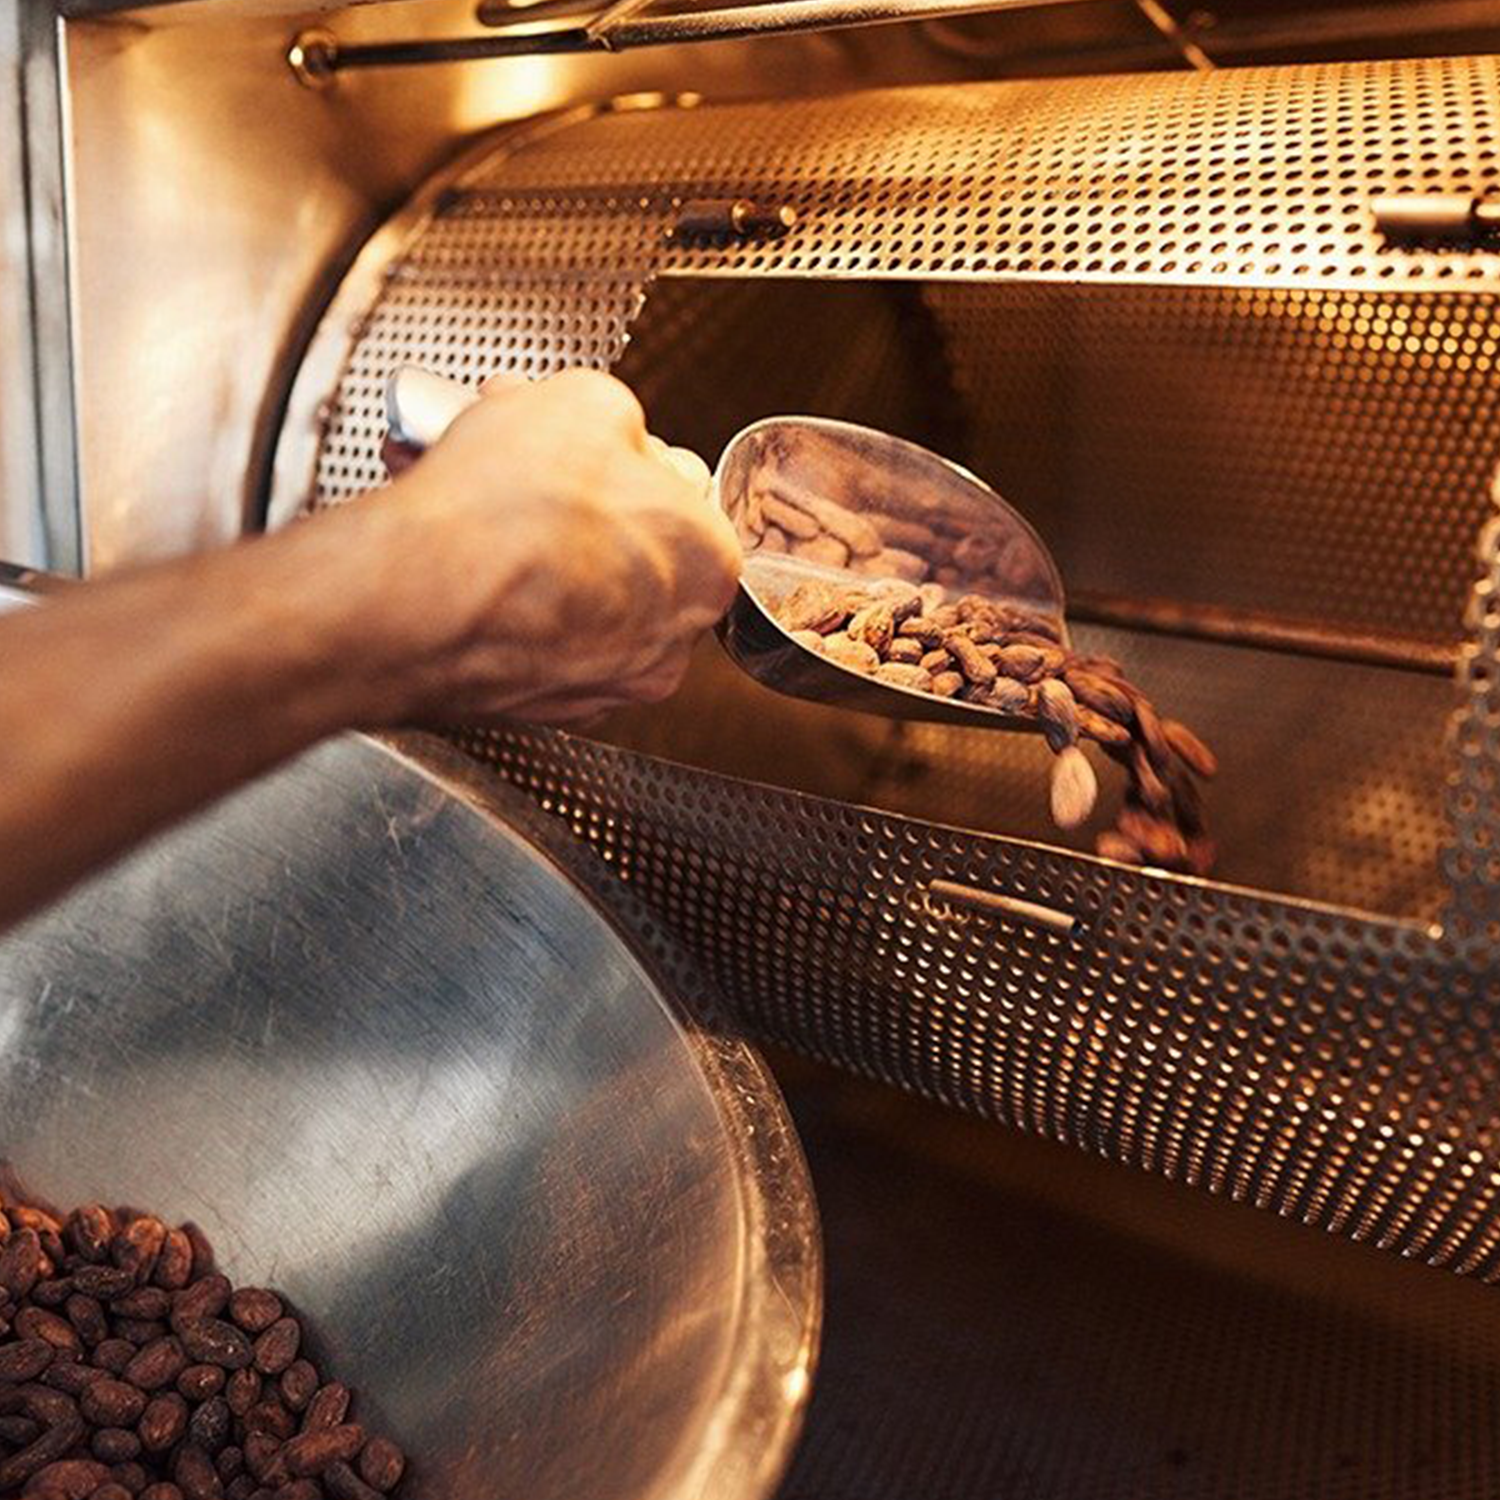
This is usually the first stage at which chocolate makers start to develop flavor in their beans. Apart from helping makers start to separate the shell from the cacao bean inside, roasting serves two additional functions.
First, it’s vital to kill any bacteria or other microorganisms that may be living in or on the bean. Cacao harvesting and post-harvest processes do not take place in a sterile or controlled environment, so starting with a kill step (i.e. roasting) is critical to ensure food safety in your product.
Second, roasting develops flavor in the cacao bean. Makers across the industry vary in terms of their preferred roasting method.
Chocolate Making
Types of Roasting
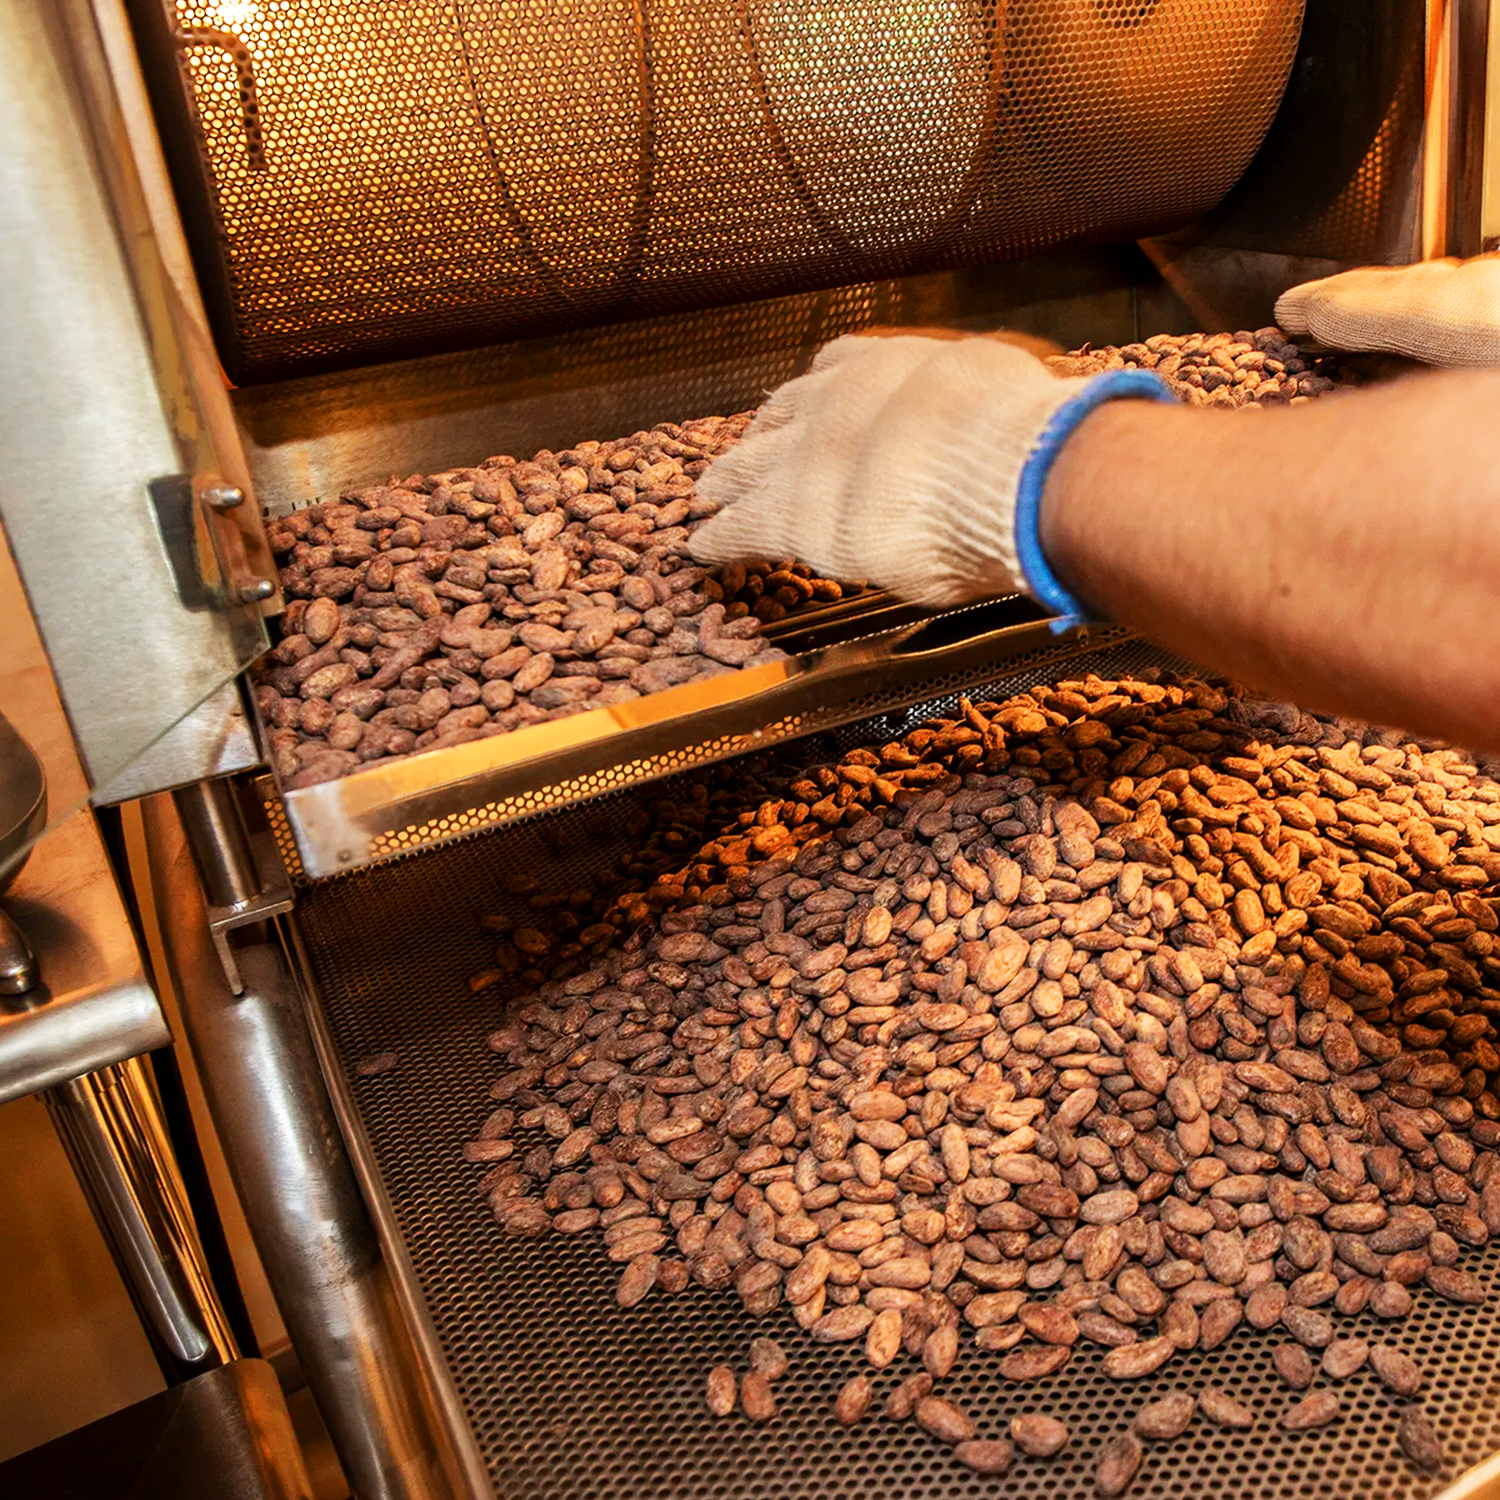
Drum Roasting
This style helps to get an even roast all the way through the beans and is better for equalizing at lower temperature, although some makers are concerned about losing fat content due to seepage into the shell with this method.
Convection Oven
Many makers use this method, although some believe it is less ideal due to the contact of the beans with the pan in the oven. To mediate this the 1-4 inch layer of beans can be moved manually. This option brings forward a spectrum of flavors that can be great to work with.
Chocolate Making
Shelling or Cracking
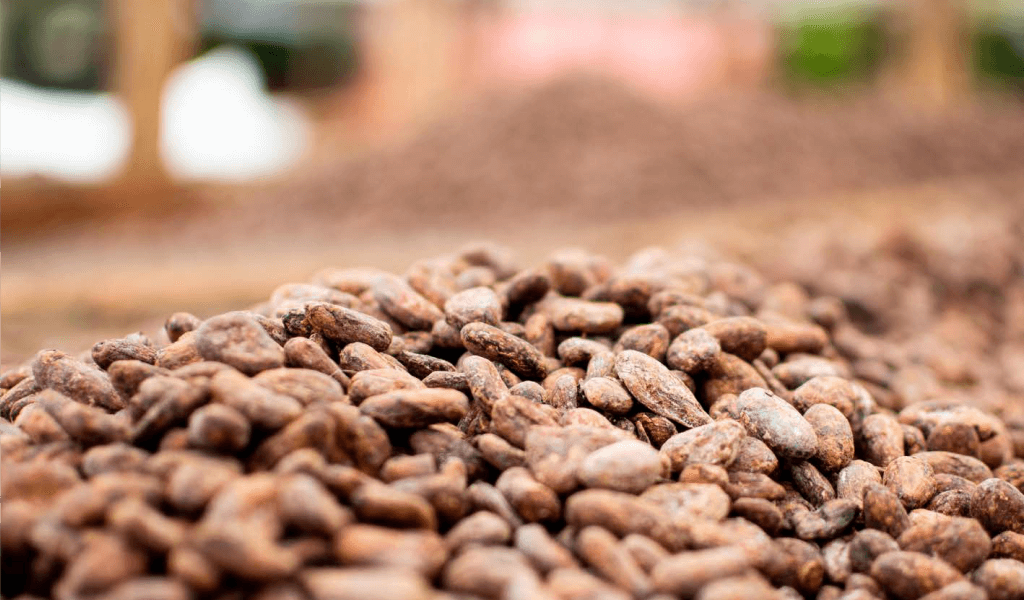
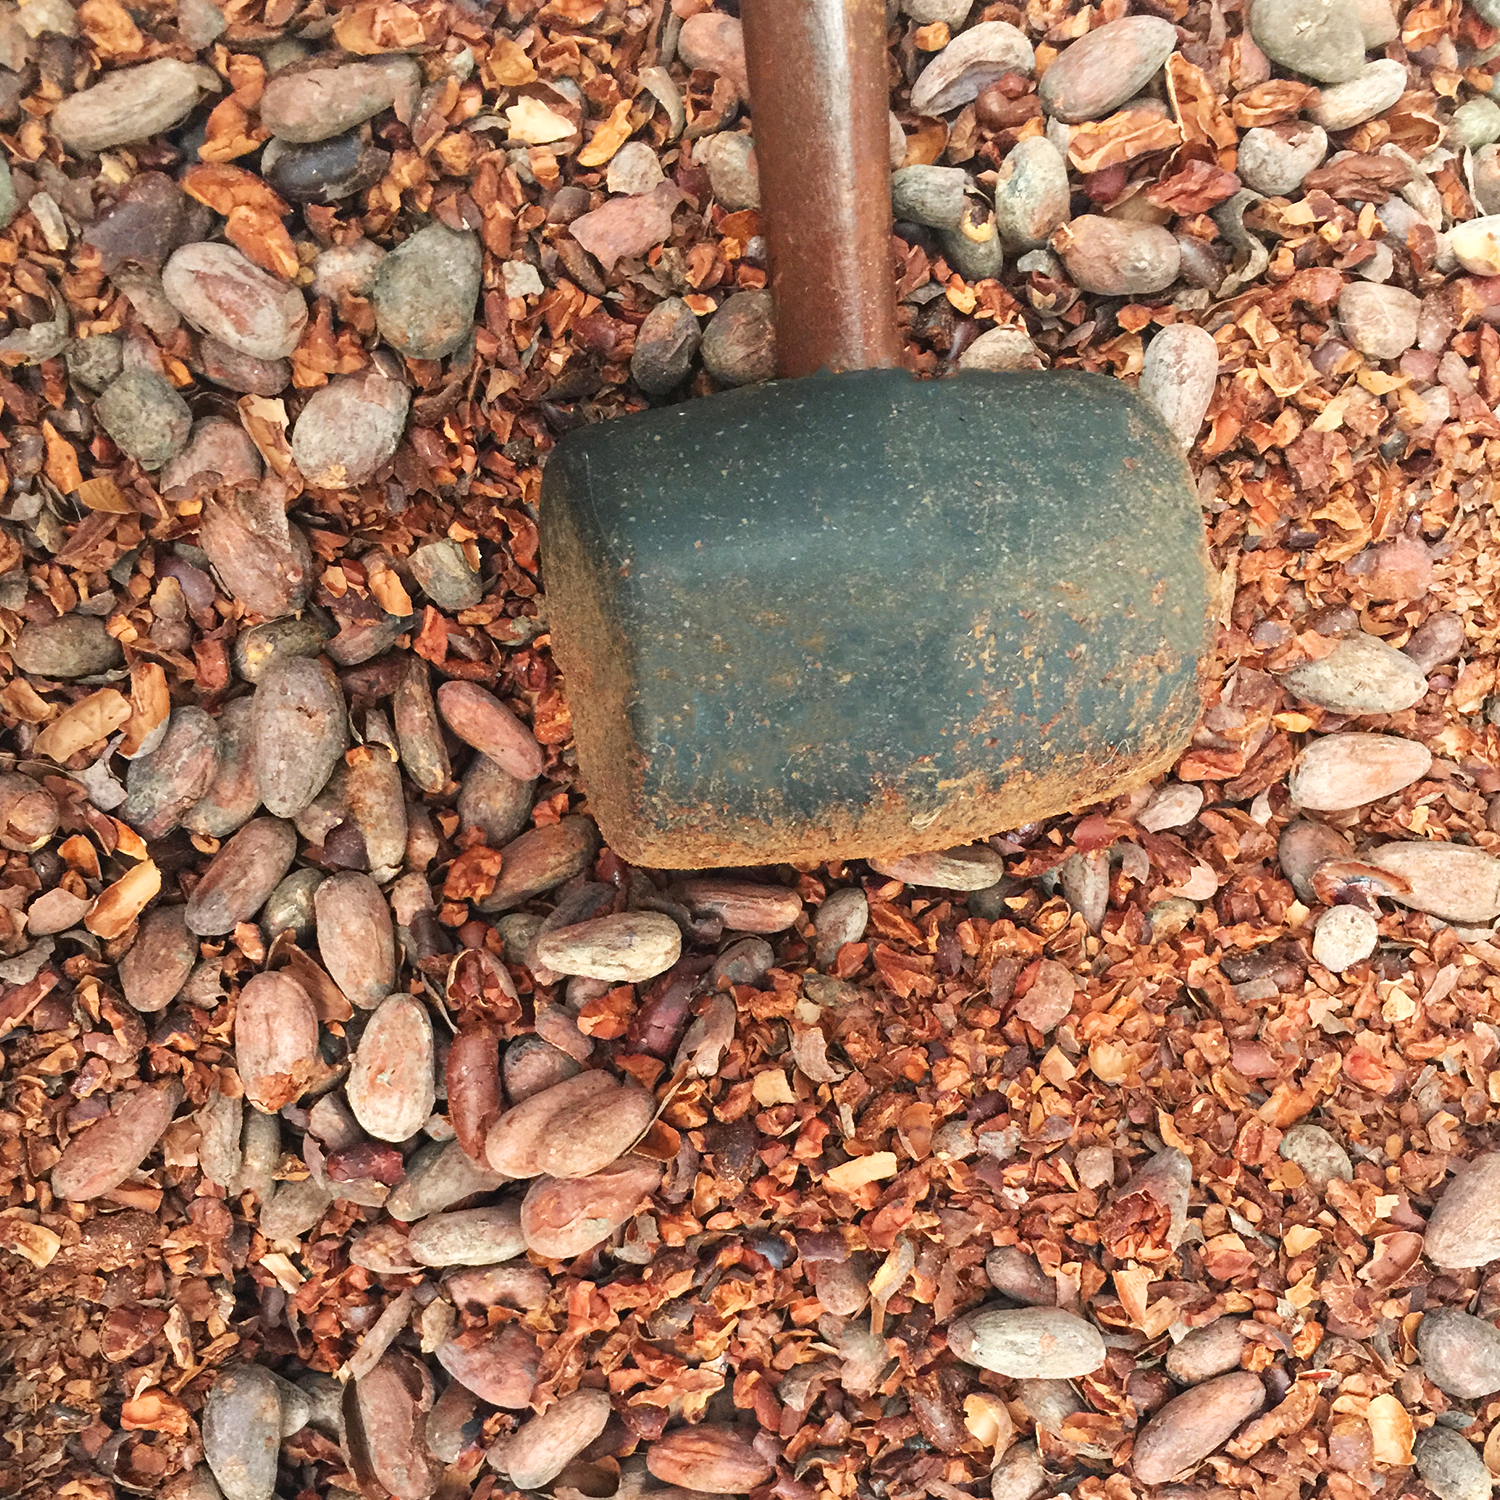
Whole cacao beans that arrive in a maker's kitchen have a thin outer shell that is tightly attached to the cacao bean inside. In order to get to the cacao nib, the bean without the shell, the whole cacao bean must be cracked. This allows the separation between the nib and the shell.
Across the industry there are several options for this. Starting out small, many makers will manually crack their beans with mallets or simple adapted cranks. As they start to grow in volume, makers will start employing basic machinery for this step, such as juicers, before purchasing specific cracking machines. Several different equipment companies offer custom machines or specialty equipment for cracking.
Chocolate Making
What is Winnowing?
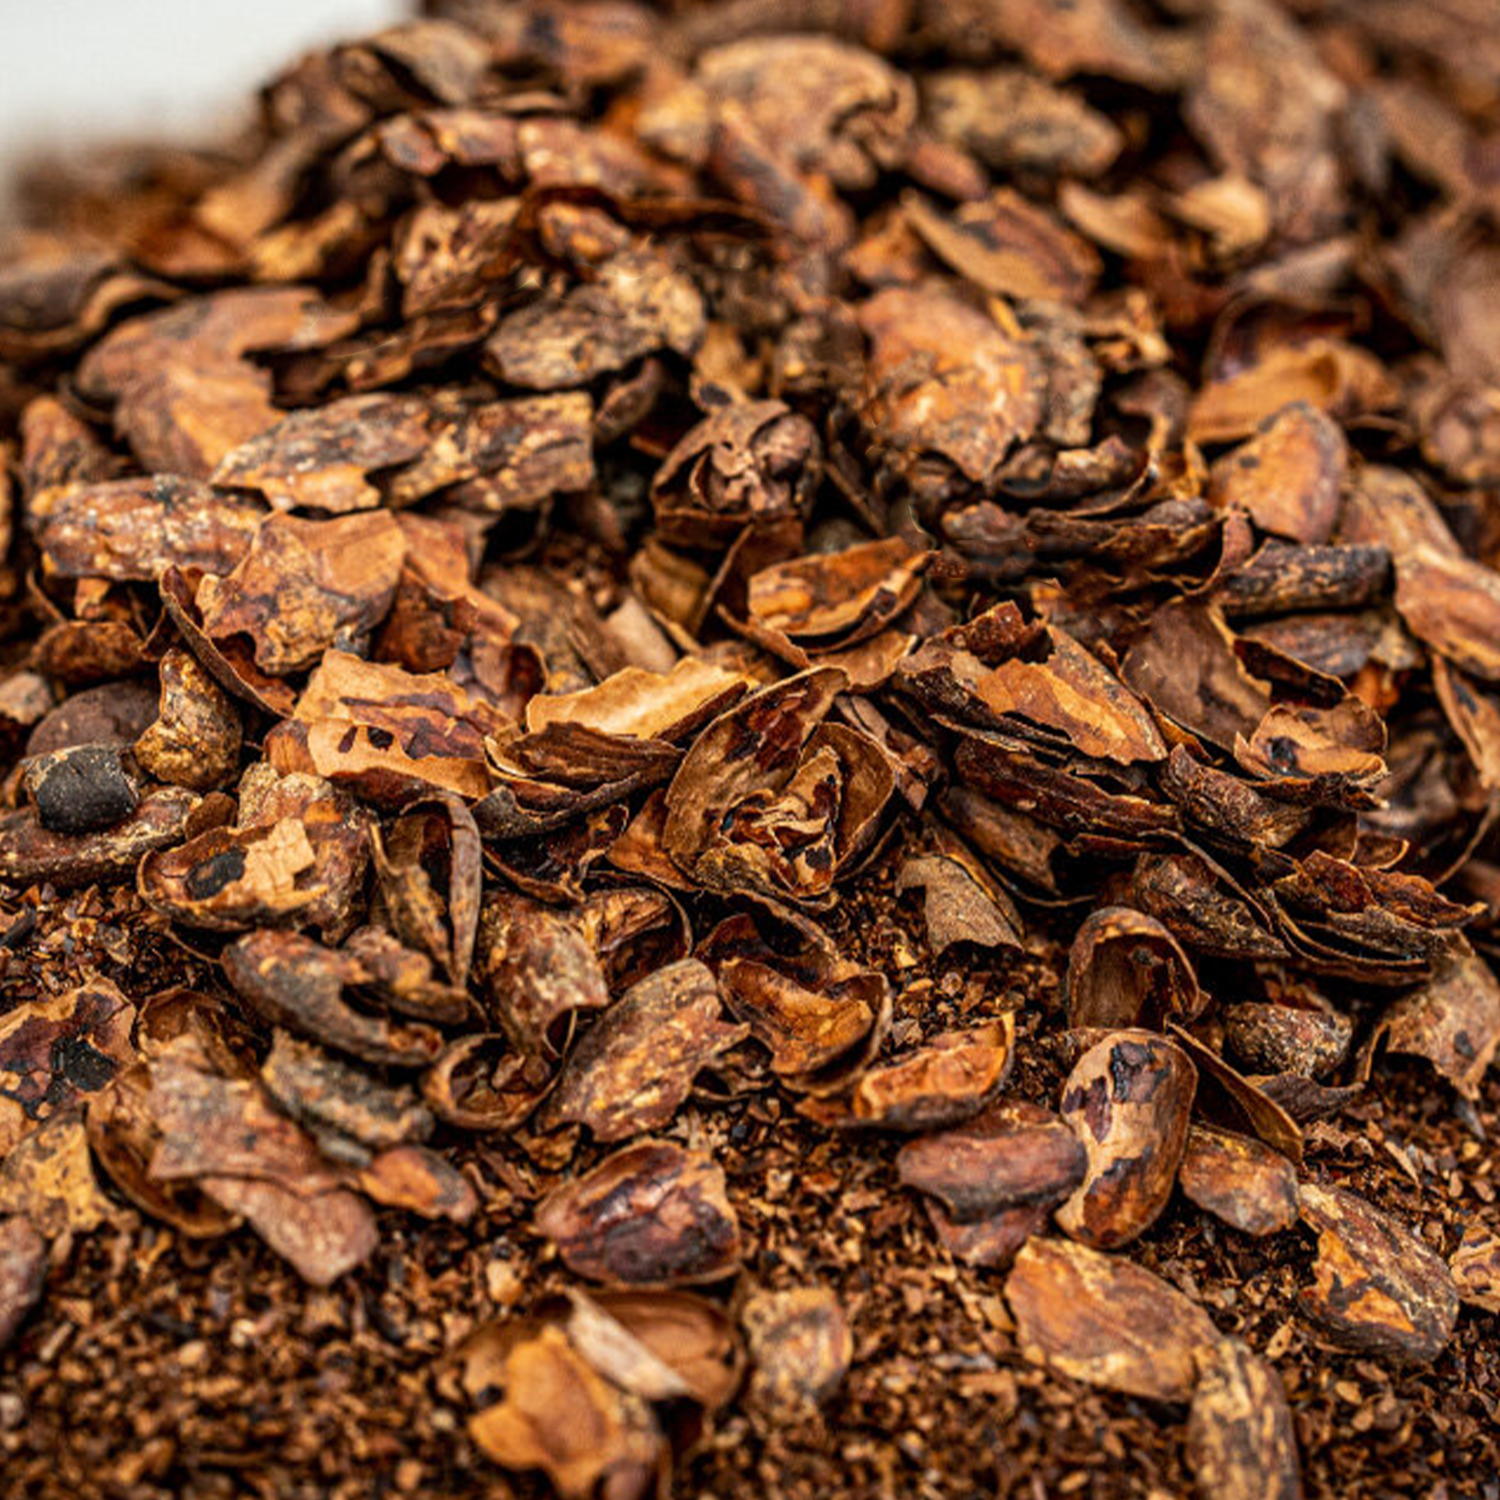
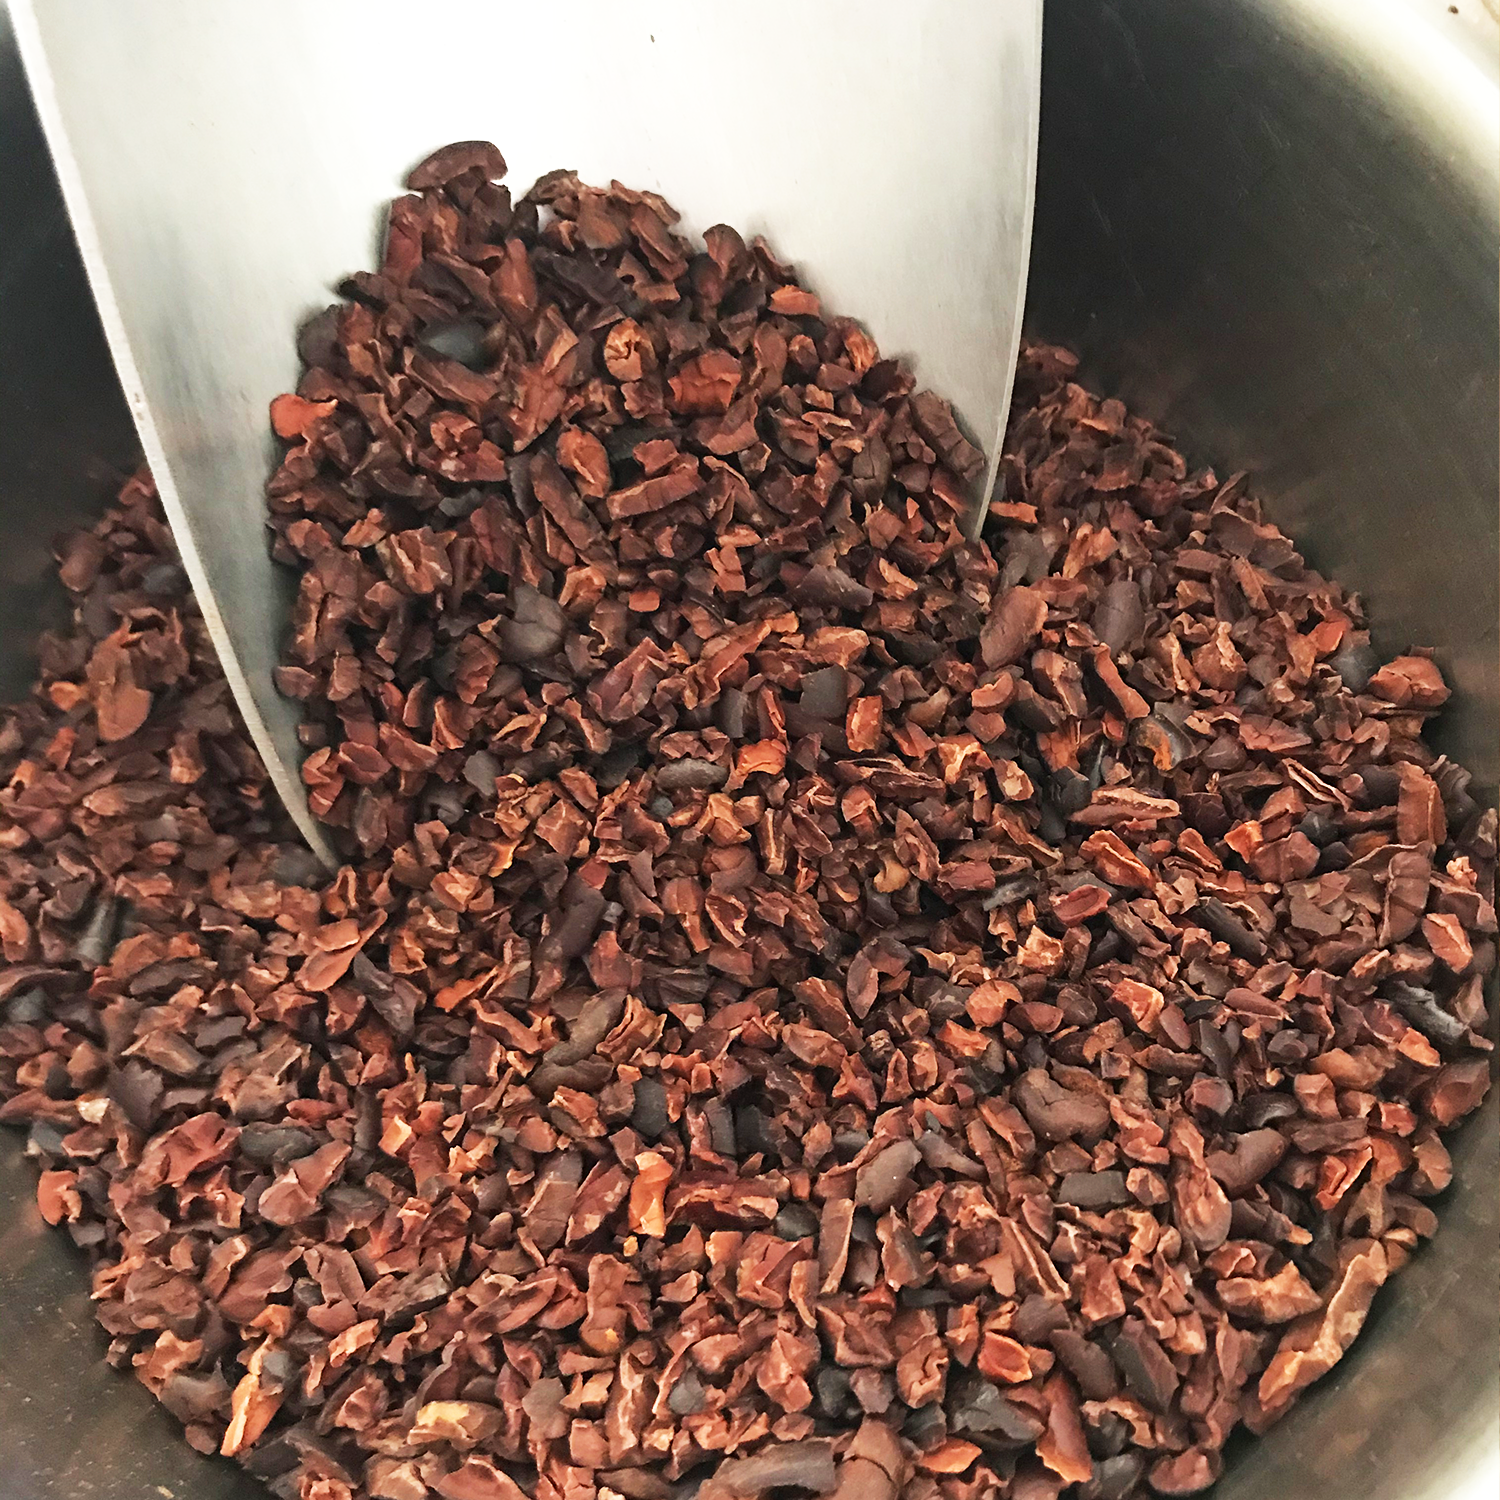
Winnowing is a process that separates the shell or husk from the nib and leaves clean nibs which can then be added to a grinder in the next step of chocolate making. This process is achieved by using a pressurized air flow. As the shells are much lighter than the cacao nibs the two will react differently when exposed to air currents. Ideally the air will lift the shell up and away from the nibs which are left behind or dropped into a lower container of some kind. Many makers begin with a simple hand held hair dryer and large bowl, experimenting with angle and air flow direction.
Chocolate Making
Commercial Winnowing
As makers add equipment to their process, winnowers based on detailed schematics found online can be built to increase the volume and capacity of the sorting. In examples of large scale production, specialty winnowers are purchased by manufacturers.
The goal is to remove as close to all of the shell as possible as it contains debris leftover from the fermenting, drying and transportation process and can affect the final flavor of the chocolate. Typically winnowing will result in a 30% loss of weight, although every bean responds differently to the winnowing process and will have different yields.
Chocolate Making
Making Cacao Liquor
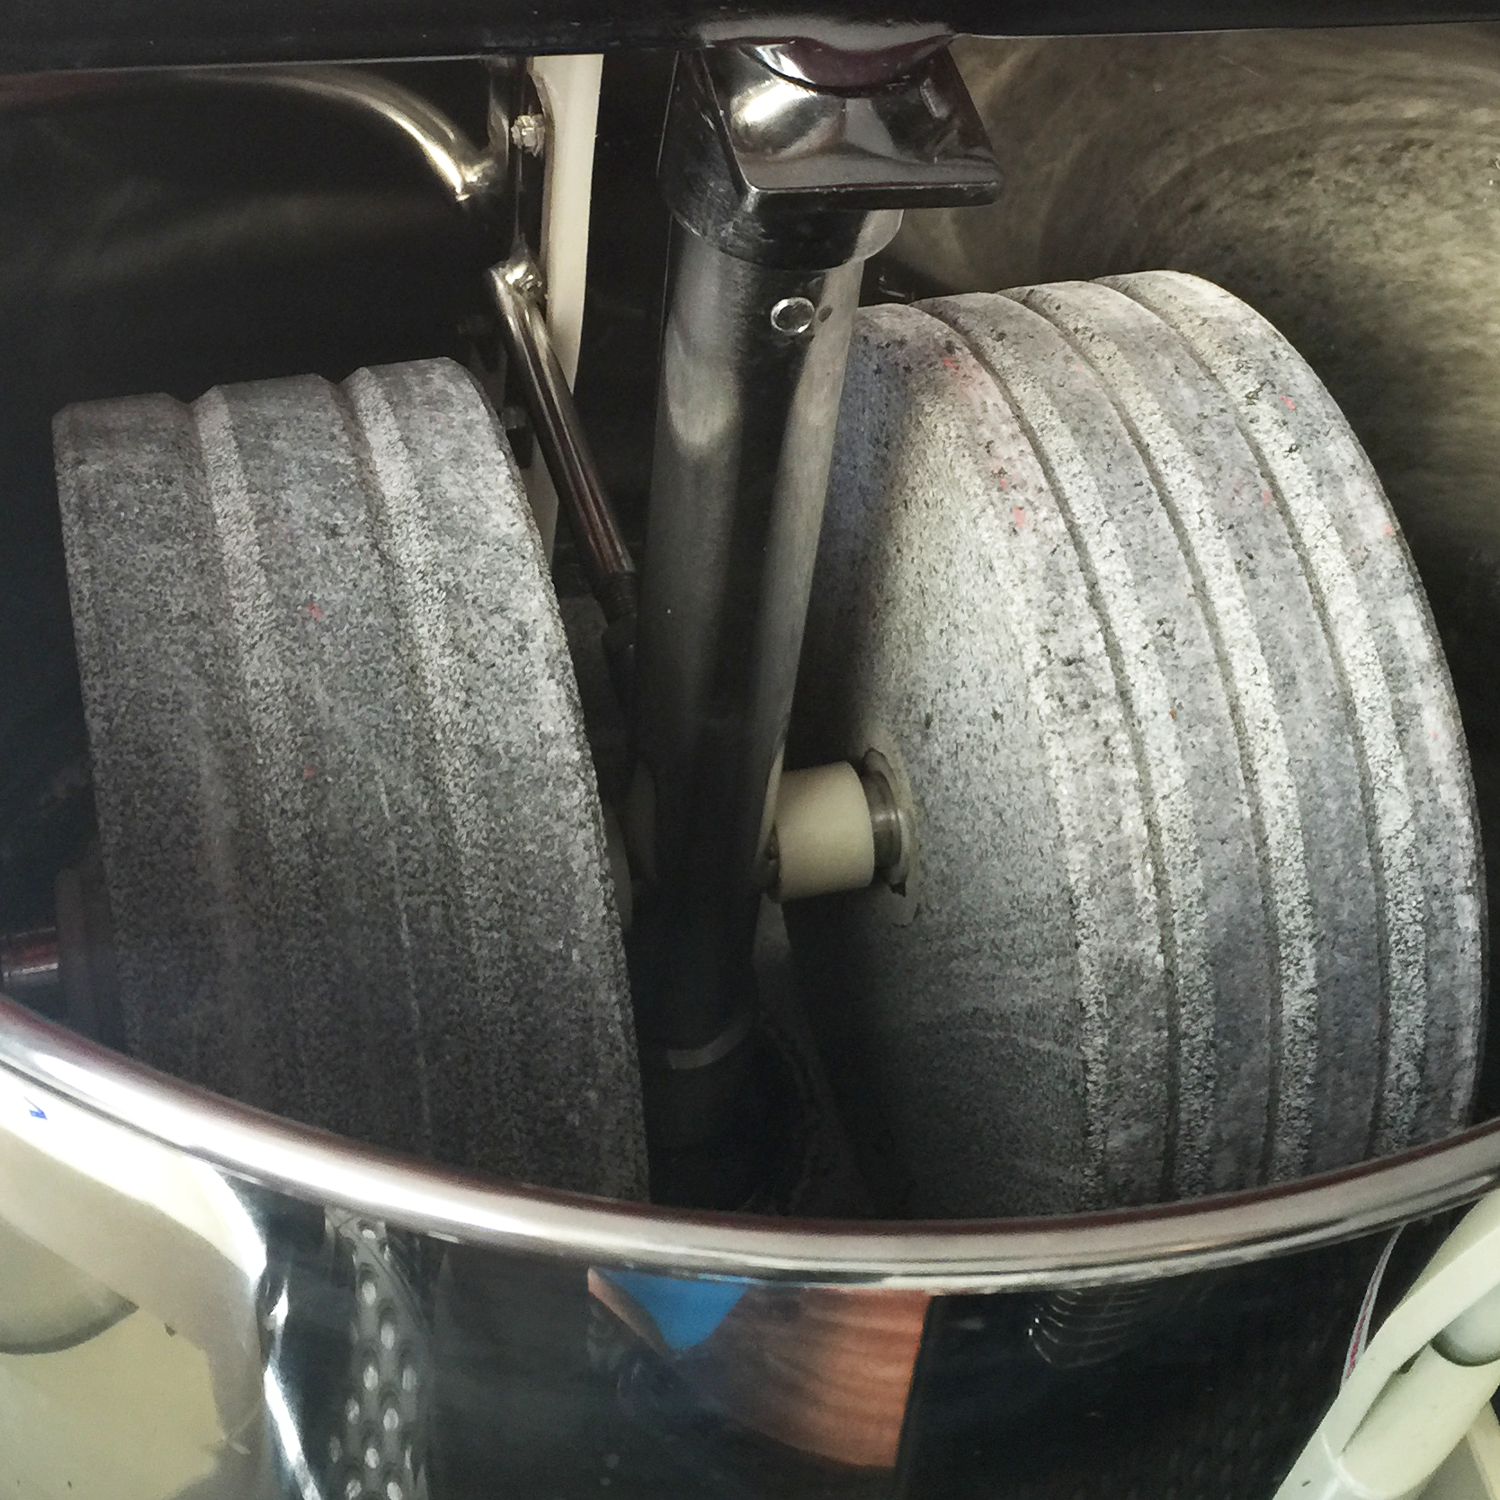
Once the cacao beans have been roasted, cracked, and winnowed, the maker is left with cacao nibs that are ready to be transformed into chocolate.
A popular method is using a stone grinder that employs friction between three rotating stone surfaces to crush and liquify the cacao nibs. Some makers choose to use a ball mill or a roll mill at this stage.
Chocolate Making
Adding Sugar
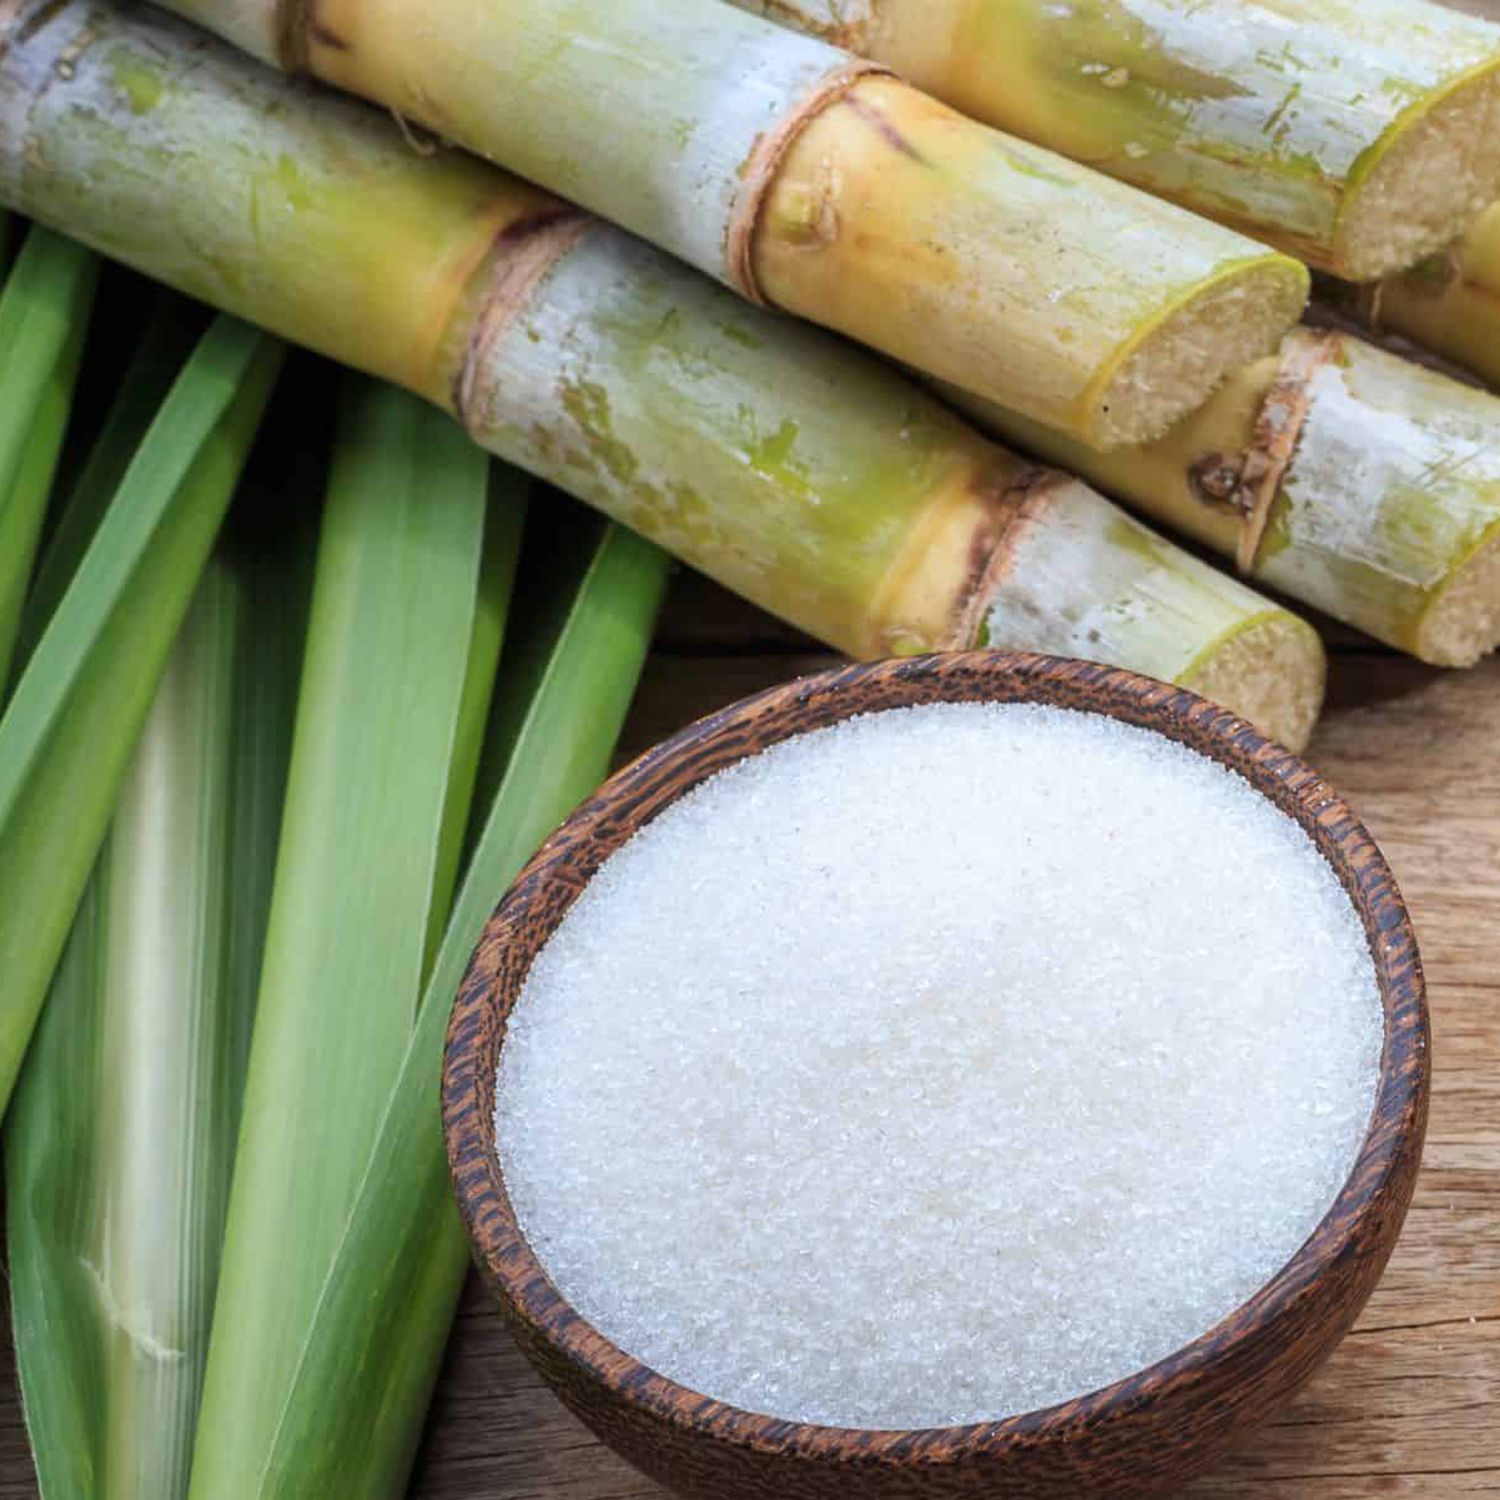
Once the cacao nibs are consistently liquified the maker has the opportunity* to introduce sugar to the grinding process. Typically it’s best to wait 24 hours before adding sugar to allow the volatile acids to escape from the liquor. Adding the sugar in too quickly will easily trap acetic acid and other bright puckering flavors that may be unwanted.
*There are maker who do not add any sugar, and produce what can be called cacao mass or cacao liquor. This allows the consumer to add whatever additional personalized ingredients they choose, including alternatives to sugar cane.
Chocolate Making
Refining Cacao
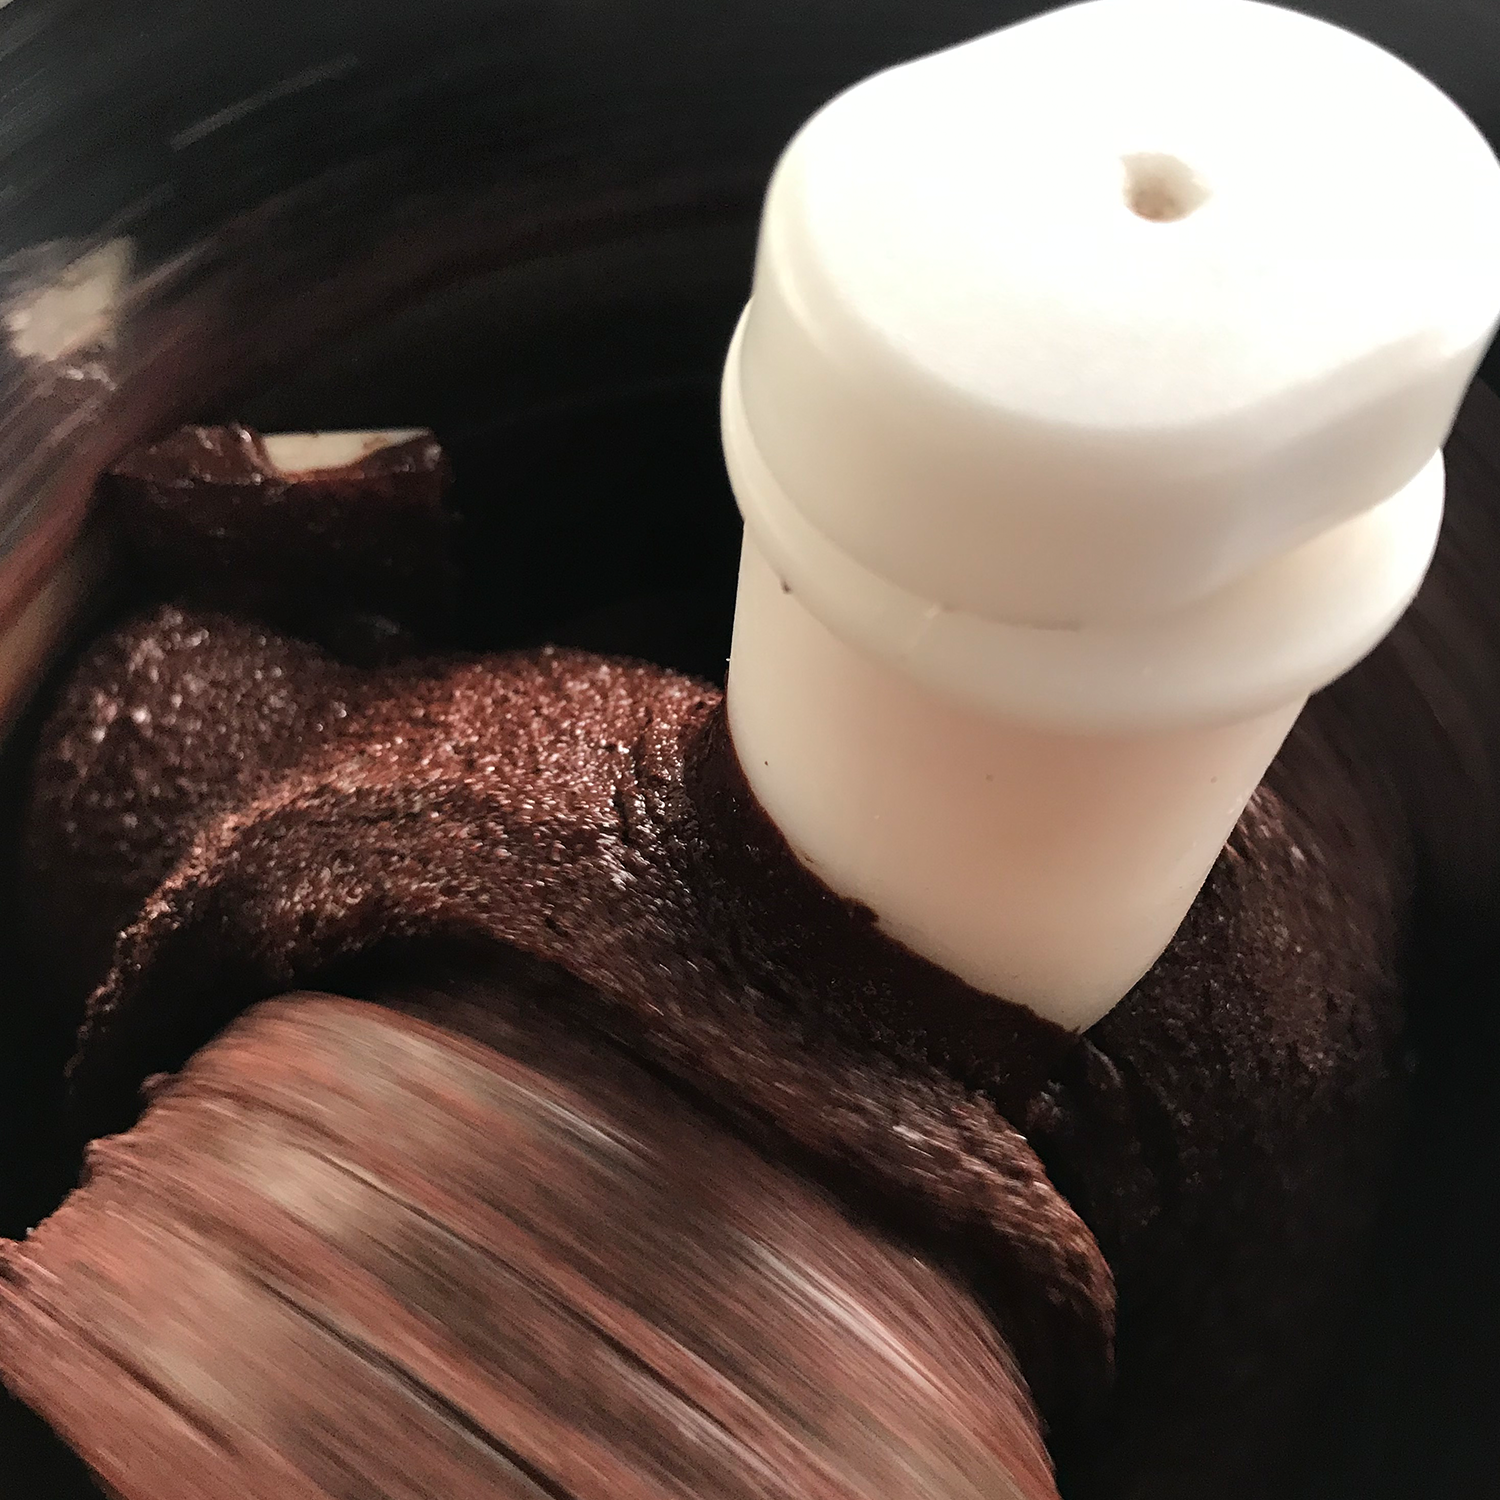
After adding sugar - or not - the mass is typically ground for an additional time frame in order to further refine the chocolate and reduce the particle size resulting in a smooth mouthfeel.
There are specialty equipment options at this stage to measure the exact size of the microns in the chocolate coming out of a grinder, but some makers believe that actually tasting the chocolate is the best way to decide if you have finished a batch. Some makers choose to add additional steps, conching for example, to this process to increase the smoothness of the mouthfeel.
Chocolate Making
What is Tempering?
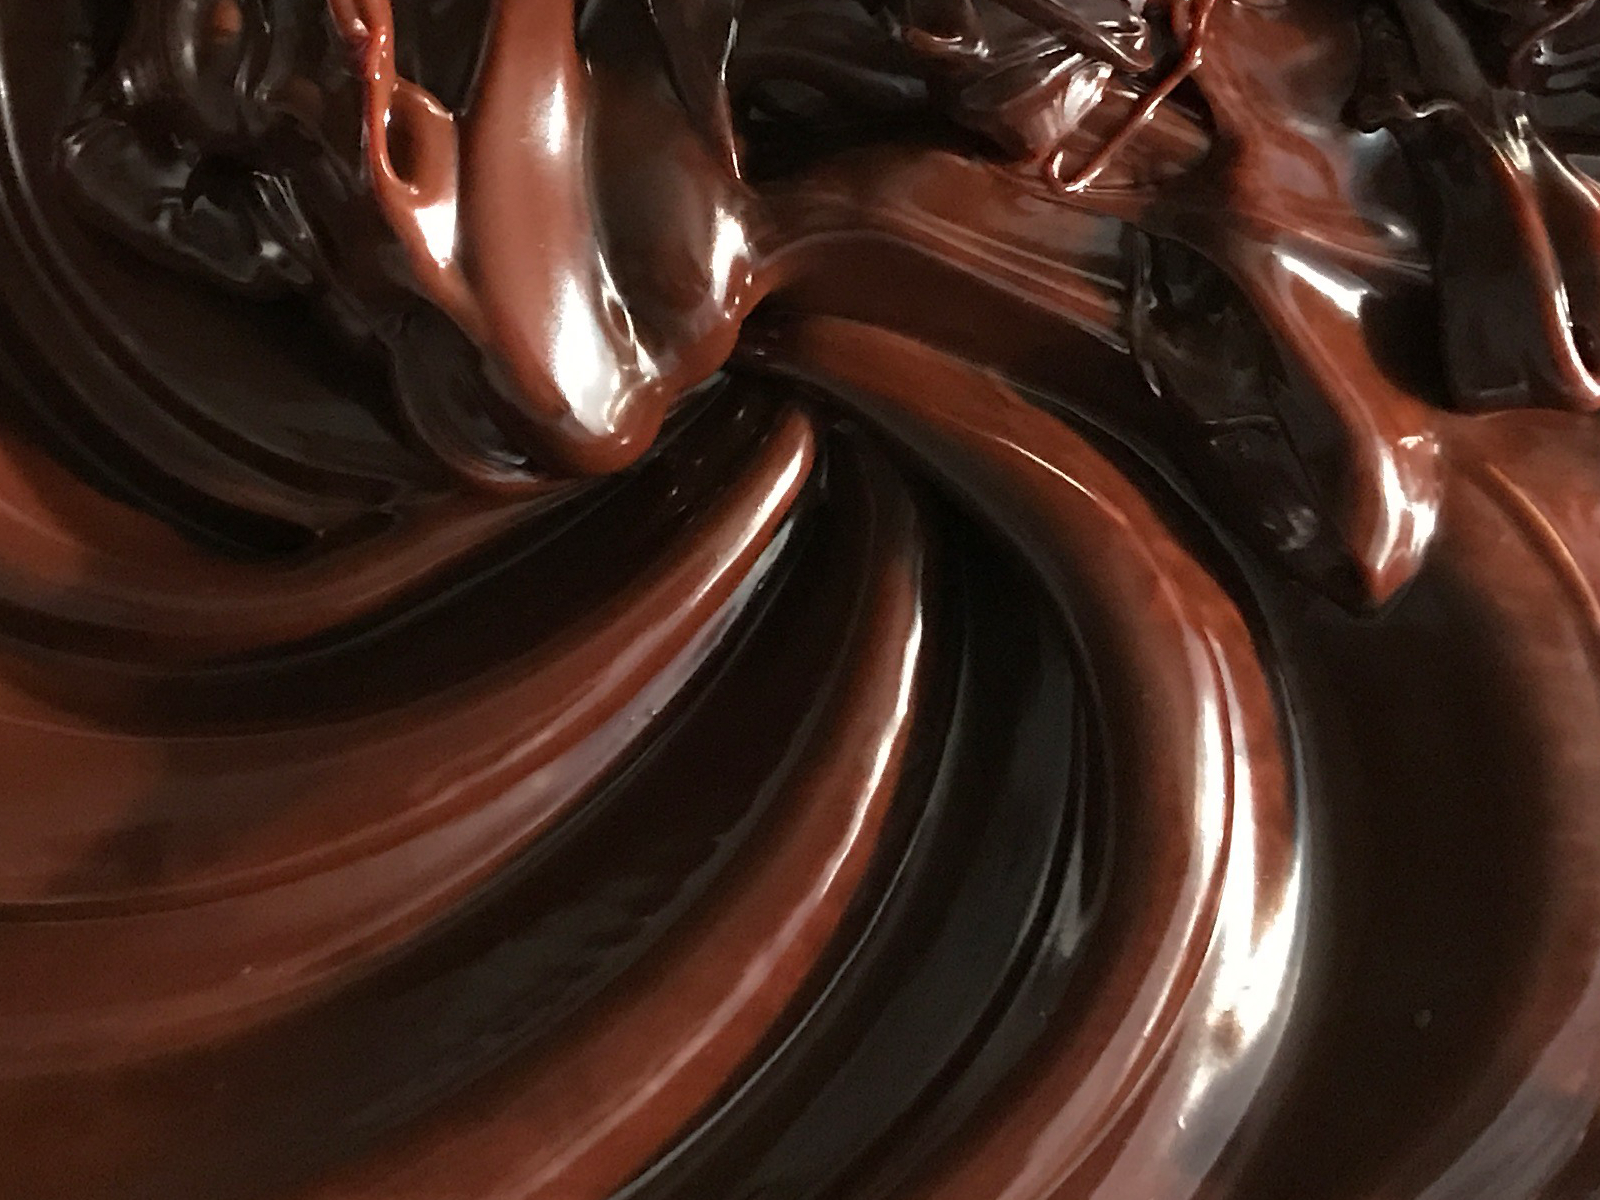
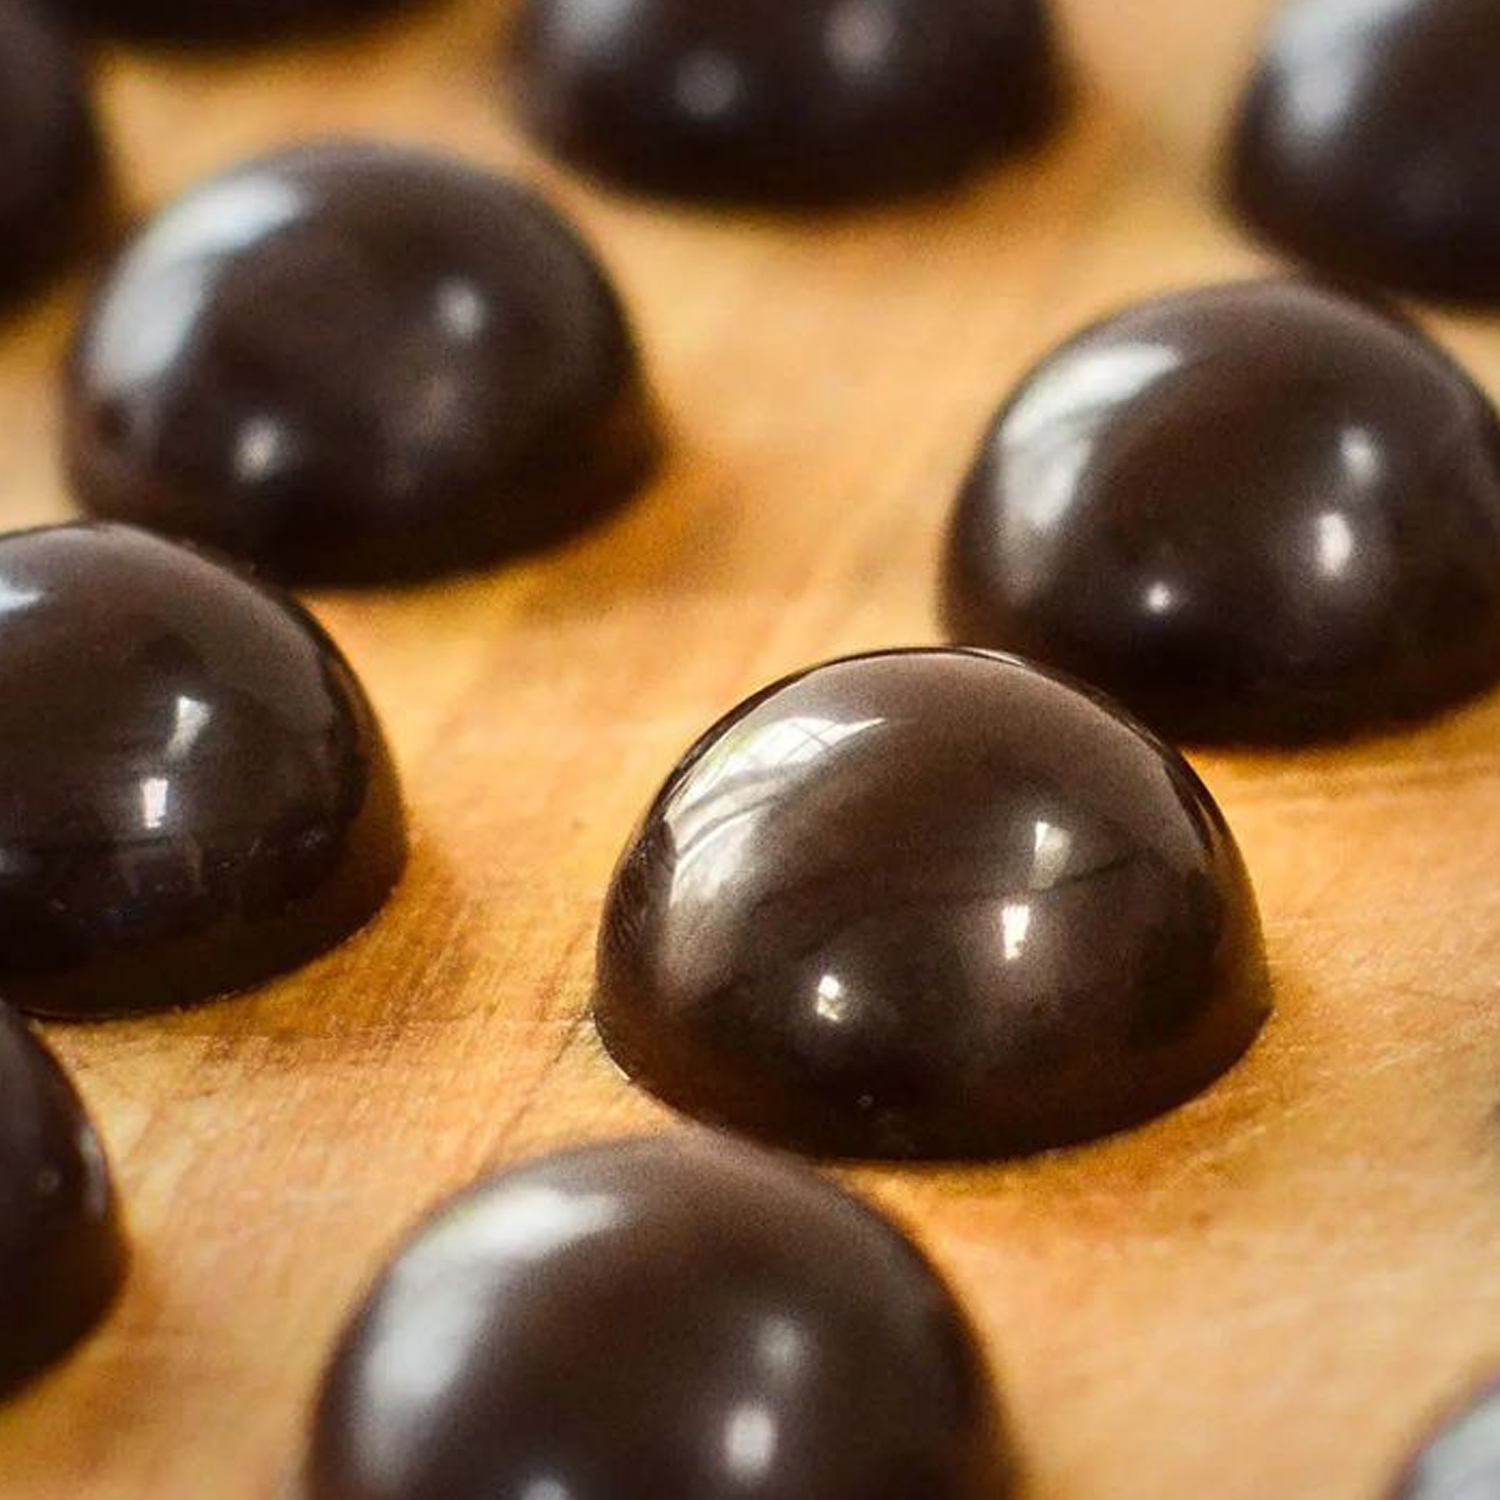
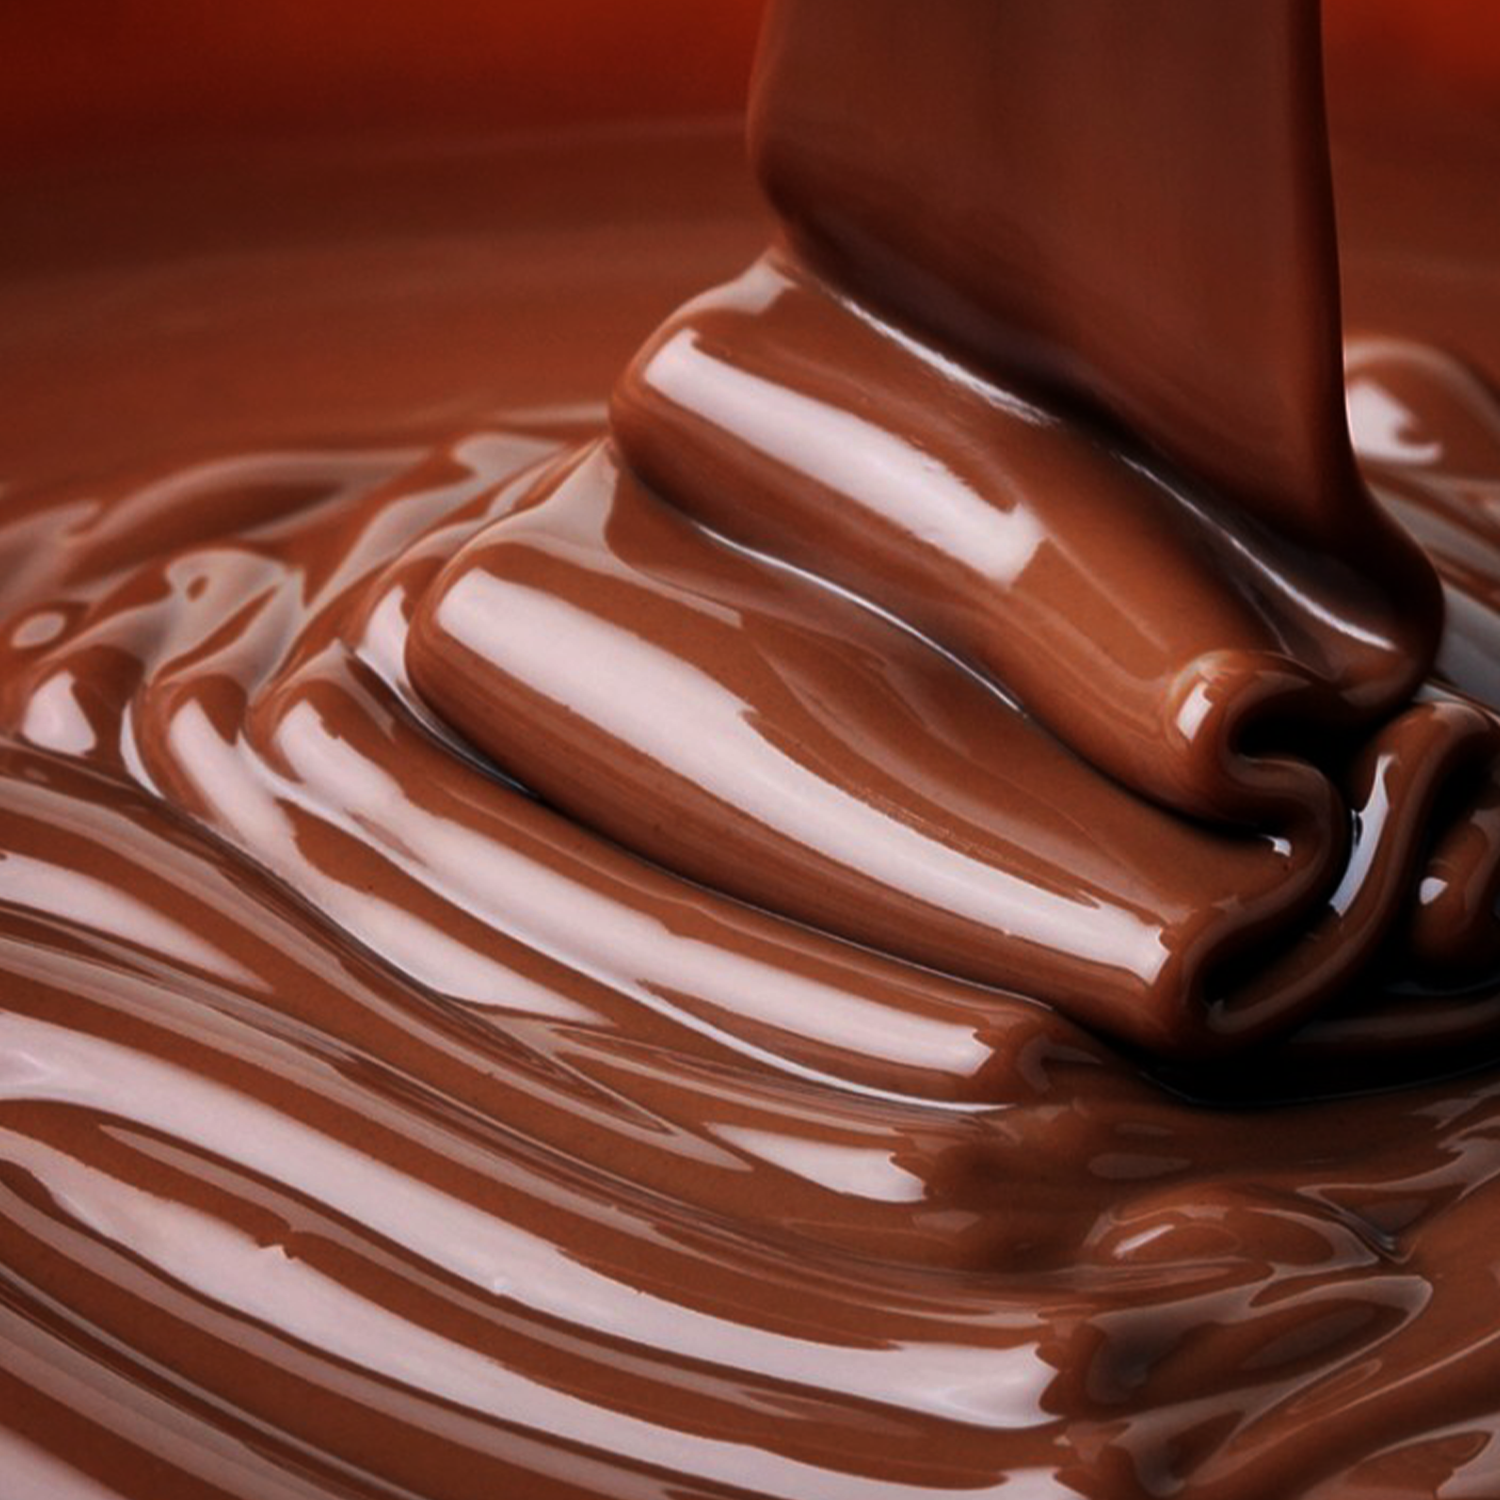
The next step for many makers is tempering. Tempered chocolate has a shiny appearance - although keep in mind that the surface your chocolate is in contact with during molding can also affect this. Tempering also produces a hard snap when the chocolate is broken and will resist melting when touched or held. This step is one of the more challenging in the artisanal process and while it is definitely possible to achieve professional results tempering by hand, most makers rely on precise equipment.
Chocolate Making
Tempering Crystals
The tempering process begins with understanding that the fat inside the cacao bean once ground into chocolate forms five types of crystals. Each crystal has a unique melting point at which it destabilizes. The goal when tempering is to generate as many type five crystals as possible to produce a stabilized final chocolate product.
Professional equipment can assist with the temperatures and ‘dosing’ of molds and the options vary greatly depending on the size of your production.
Chocolate Making
Tempering by Hand
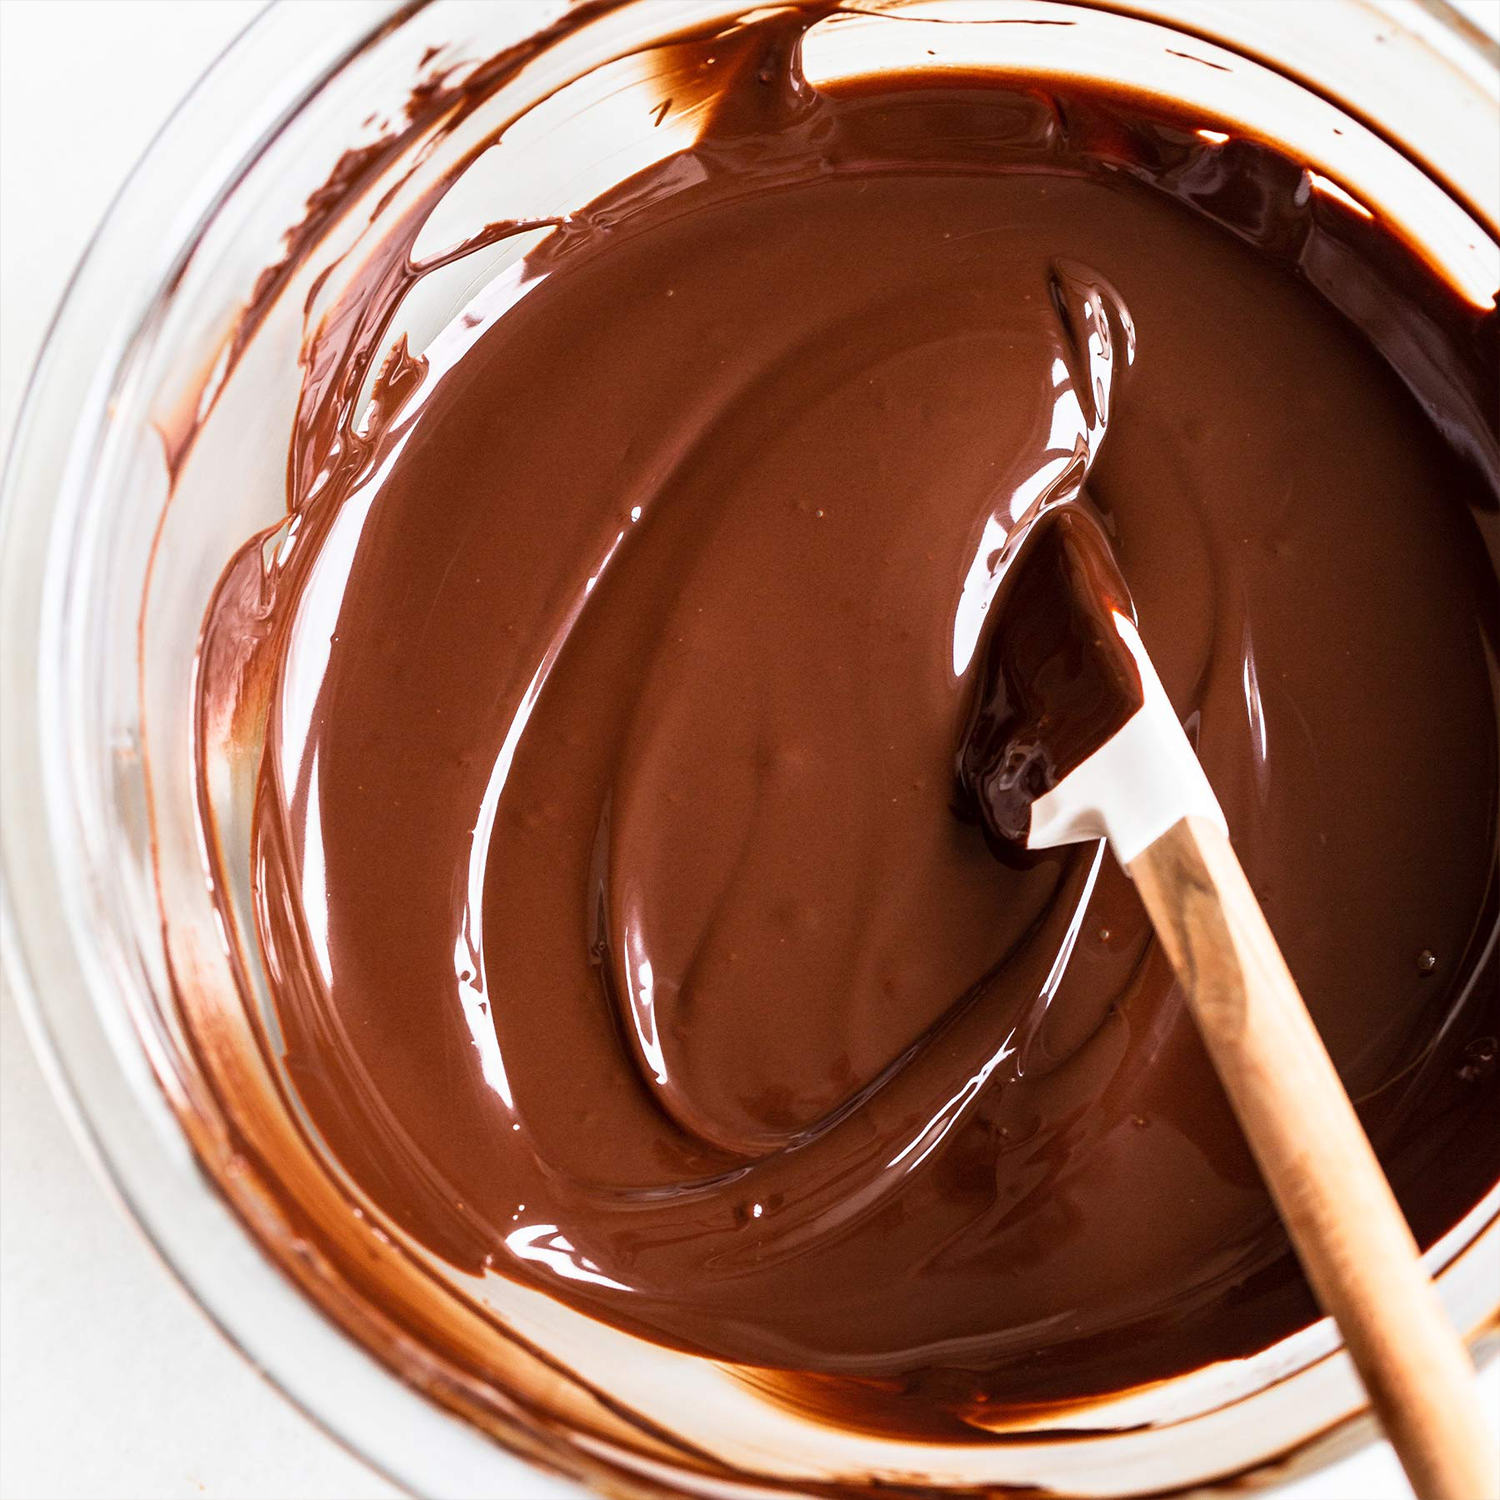
Different types of chocolate and makers environments can affect the exact temperatures needed for the tempering process.
As a general guideline for tempering by hand you start with completely melted chocolate, separate a portion out and let the remaining mass cool to around 79-81 degrees fahrenheit where type four & five crystals are most prevalent. Next stir in the warmer portion that was set aside, mixing until a temperature of between 86-88 degrees fahrenheit is reached. This should result in a stable, tempered chocolate.
